Documentation Index
Fetch the complete documentation index at: https://relevanceai.com/docs/llms.txt
Use this file to discover all available pages before exploring further.
- Scheduled Events: Set your agent to run at specific times or intervals
- External Actions: Configure your agent to respond to specific events or inputs
- Manual Activation: Allow users to directly engage with the agent when needed
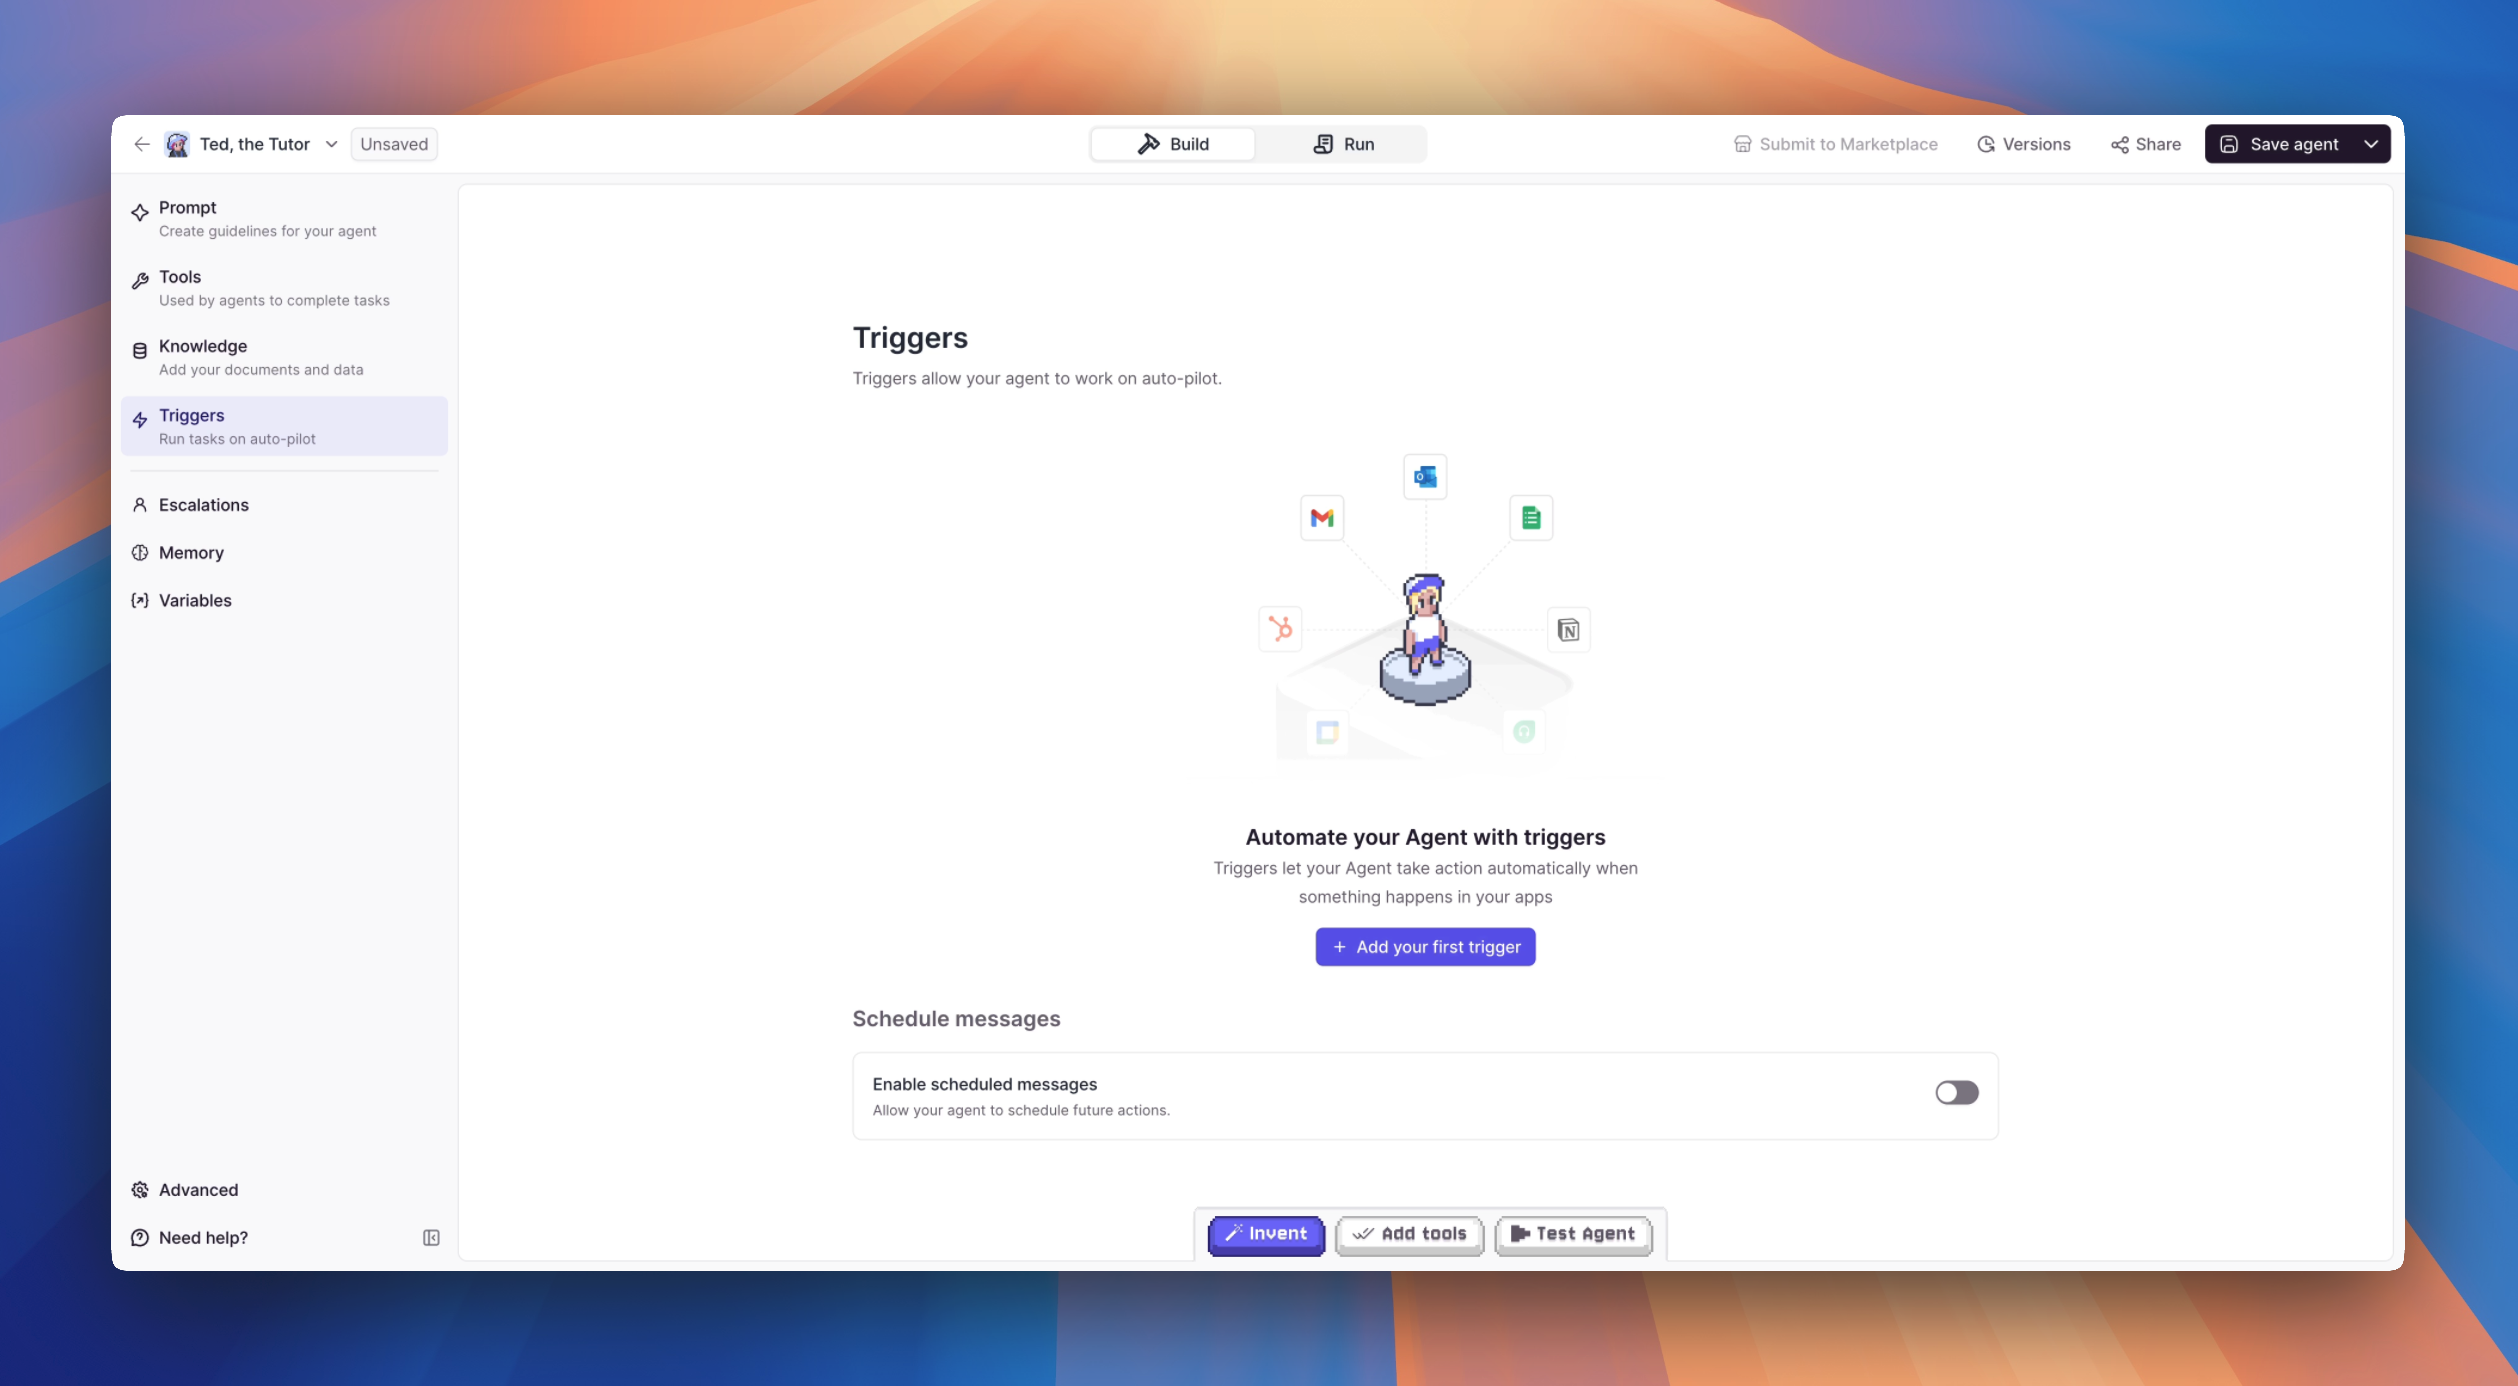
Setting up a trigger
- Navigate to the Agents page and select the agent you want to configure
- In the sidebar on the left, click Triggers
- Click the Add trigger button
- Choose from the available trigger types — integration triggers, scheduled triggers, or build-your-own options like webhooks, SDK, API, or Tools
- Follow the configuration steps for your chosen trigger type
- Once configured, your trigger will appear in the Triggers section of your agent
You can add multiple triggers to a single agent. Each trigger operates independently, so your agent can respond to emails, run on a schedule, and accept API requests all at the same time.
Managing your triggers
Once you’ve set up triggers, you can control them without deleting your configuration.Pausing and resuming triggers
You can pause any trigger type — integration triggers (Gmail, Slack, LinkedIn, WhatsApp, etc.), scheduled triggers, webhooks, and all others. Pausing stops the trigger from firing while preserving all your configuration, so you don’t need to delete and recreate triggers when you want to temporarily disable them.To pause or resume a single trigger
- Go to your agent’s Triggers section in agent settings or the agent builder sidebar
- Find the trigger you want to pause
- Click the pause button next to the trigger
- To resume, click the resume button
To pause or resume all triggers at once
Use the Pause all or Resume all buttons at the top of the Triggers section to quickly control all triggers for your agent.Visual status indicators
Active triggers display with a standard appearance, while paused triggers show a visual indicator so you can quickly see which triggers are currently active and which are paused.Where to manage triggers
You can pause and resume triggers from two locations:- Agent settings: Navigate to your agent and open the Triggers section
- Agent builder sidebar: Access trigger controls directly while building your agent
Common use cases for pausing triggers
- Testing: Pause production triggers while testing changes to your agent
- Maintenance: Temporarily disable triggers during system updates or configuration changes
- Cost control: Pause high-volume triggers during periods when you don’t need them active
- Debugging: Isolate specific triggers to troubleshoot issues
- Seasonal workflows: Pause triggers that are only relevant during certain times of the year
Trigger types
Integration triggers
We have 1,000+ integrations you can connect to and set up to trigger your Agent, including external triggers like Zapier.Integration triggers
View all available integration triggers and premium options.
Scheduled triggers
Set your Agent to run on a recurring schedule or send messages at specific times.Scheduled triggers
Set up recurring schedules and scheduled messages.
Build your own triggers
Connect to custom webhooks, APIs, and SDKs to trigger your Agent programmatically.Webhook
Trigger your Agent from a custom webhook.
SDK & API
Trigger your Agent using the SDK or API.
Tools as Triggers
Use a specific Tool to trigger your Agent.
Choosing the right trigger
| I want to… | Use this trigger |
|---|---|
| React to emails, Slack messages, or CRM updates | Integration Triggers |
| Run a report every morning or weekly | Scheduled Triggers |
| Send follow-ups or reminders at a future time | Scheduled Messages |
| Connect a third-party service like Zapier | Integration Triggers (external) |
| Receive data from my own app or website | Webhook Trigger |
| Trigger my agent from code I control | SDK & API Triggers |
| Combine data from multiple sources before triggering | Tools as Triggers |
Frequently asked questions (FAQs)
Can I add multiple Triggers to one Agent?
Can I add multiple Triggers to one Agent?
Yes. Each Trigger operates independently, so your Agent can respond to integration events, run on a schedule, and accept API requests all at the same time.
What happens when a Trigger fires?
What happens when a Trigger fires?
The Trigger sends a message to your Agent, which then processes it based on your Prompt instructions and executes its configured Tools.
Can I pause or disable a Trigger without deleting it?
Can I pause or disable a Trigger without deleting it?
Yes. You can pause any trigger type from your agent’s Triggers section — this works for integration triggers (Gmail, Slack, LinkedIn, WhatsApp, etc.), scheduled triggers, webhooks, and all other trigger types.Pausing preserves all your configuration, so you don’t need to delete and recreate triggers. You can pause individual triggers or use the Pause all button to disable all triggers at once. Visual status indicators show which triggers are active and which are paused.This is useful for testing, maintenance, cost control, or any time you need to temporarily disable triggers without losing your setup.