Recurring schedules
Setting up a recurring schedule
- Go to your agent in the Relevance AI dashboard
- Click ‘Edit Agent’
- Navigate to the ‘Triggers’ section
- Select ‘Recurring Schedule’
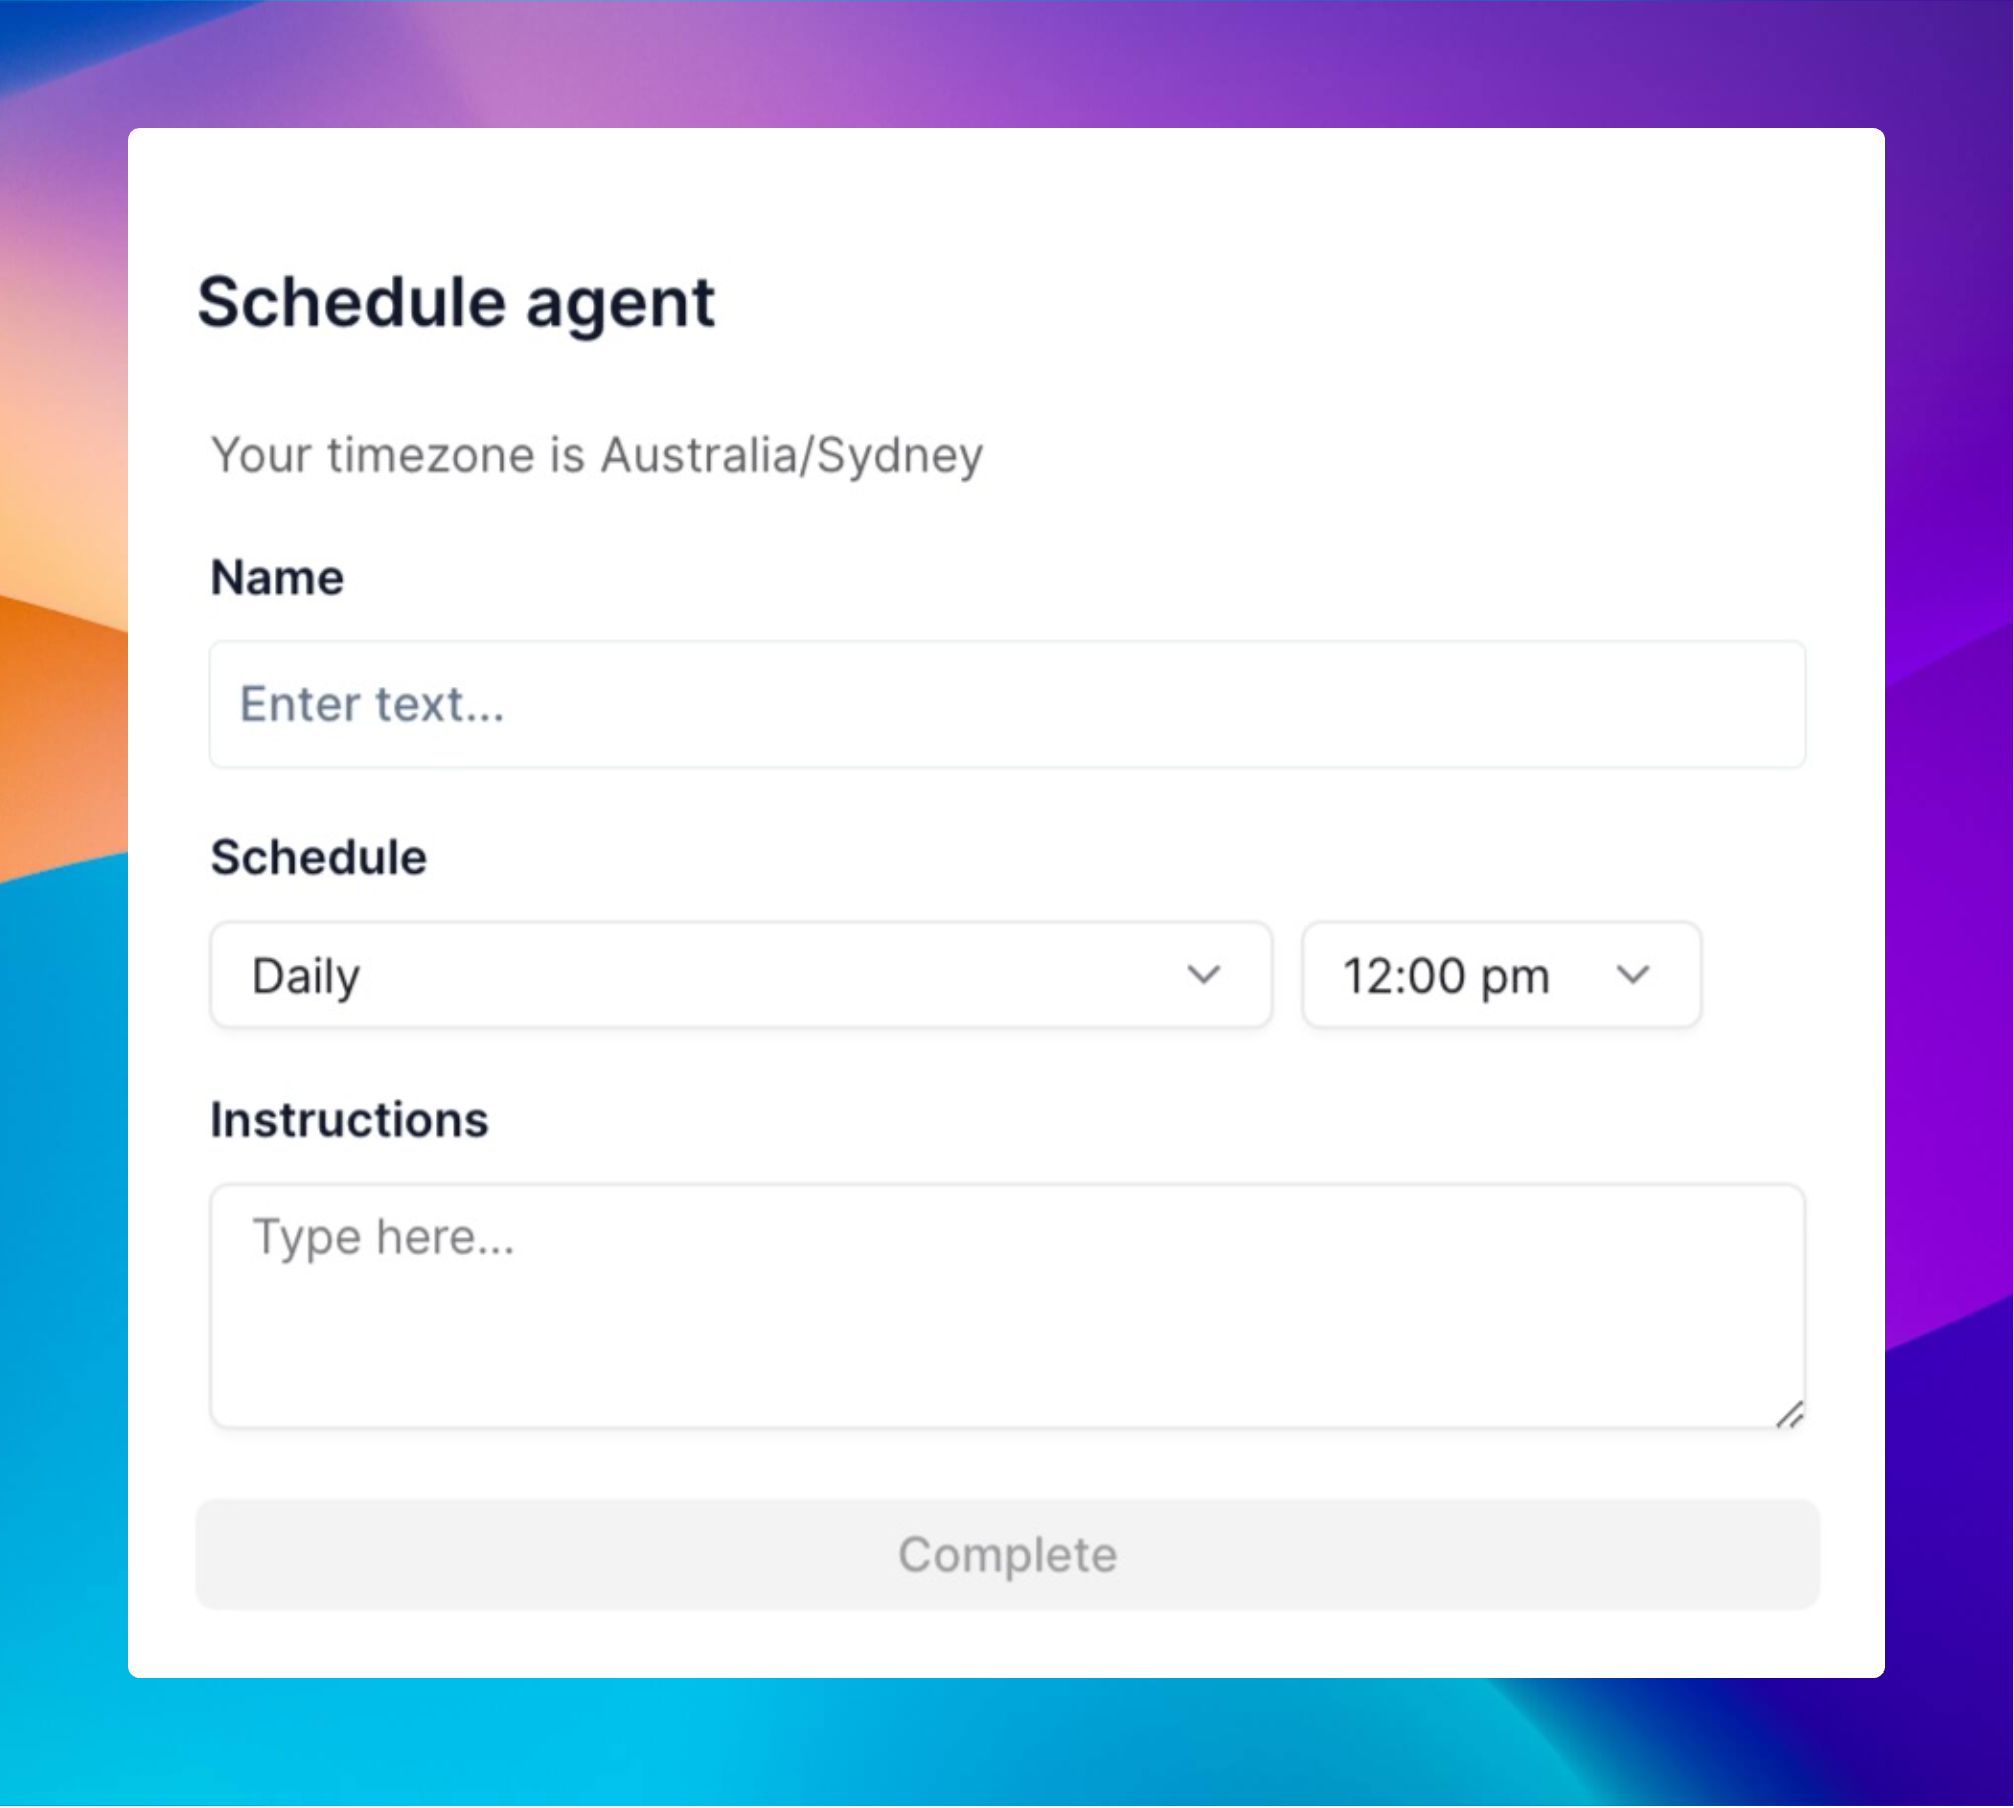
- Choose your schedule type
Schedule types
Simple schedule options
Advanced: cron expressions
For more precise control over scheduling, you can use Cron expressions. Relevance AI uses AWS EventBridge cron format, which requires six fields:
Special Characters:
*(asterisk) - all values?(question mark) - no specific value (used in day-of-month or day-of-week)-(dash) - range of values,(comma) - additional values/(forward slash) - incrementsL- last day of month or weekW- nearest weekday#- nth occurrence of a day in a month
AWS EventBridge cron expressions use 6 fields, unlike traditional Unix cron which uses 5 fields. Always include the year field, and use
? for either day-of-month or day-of-week when specifying the other.Tips
- Start small: Begin with one simple recurring task before setting up complex schedules
- Test thoroughly: Run your agent manually first to ensure it works as expected
- Monitor initially: Check the first few automated runs to confirm everything works correctly
- Use cron for precision: When you need exact timing control, use cron expressions instead of simple schedules
Scheduled messages
Setting up Scheduled Messages
- Navigate to the Build page
- Look for the Triggers section
- Scroll to the bottom and turn on the Enabled Scheduled Messages toggle
- Add instructions in your agent’s core instructions about when to schedule messages
Scheduled messages settings
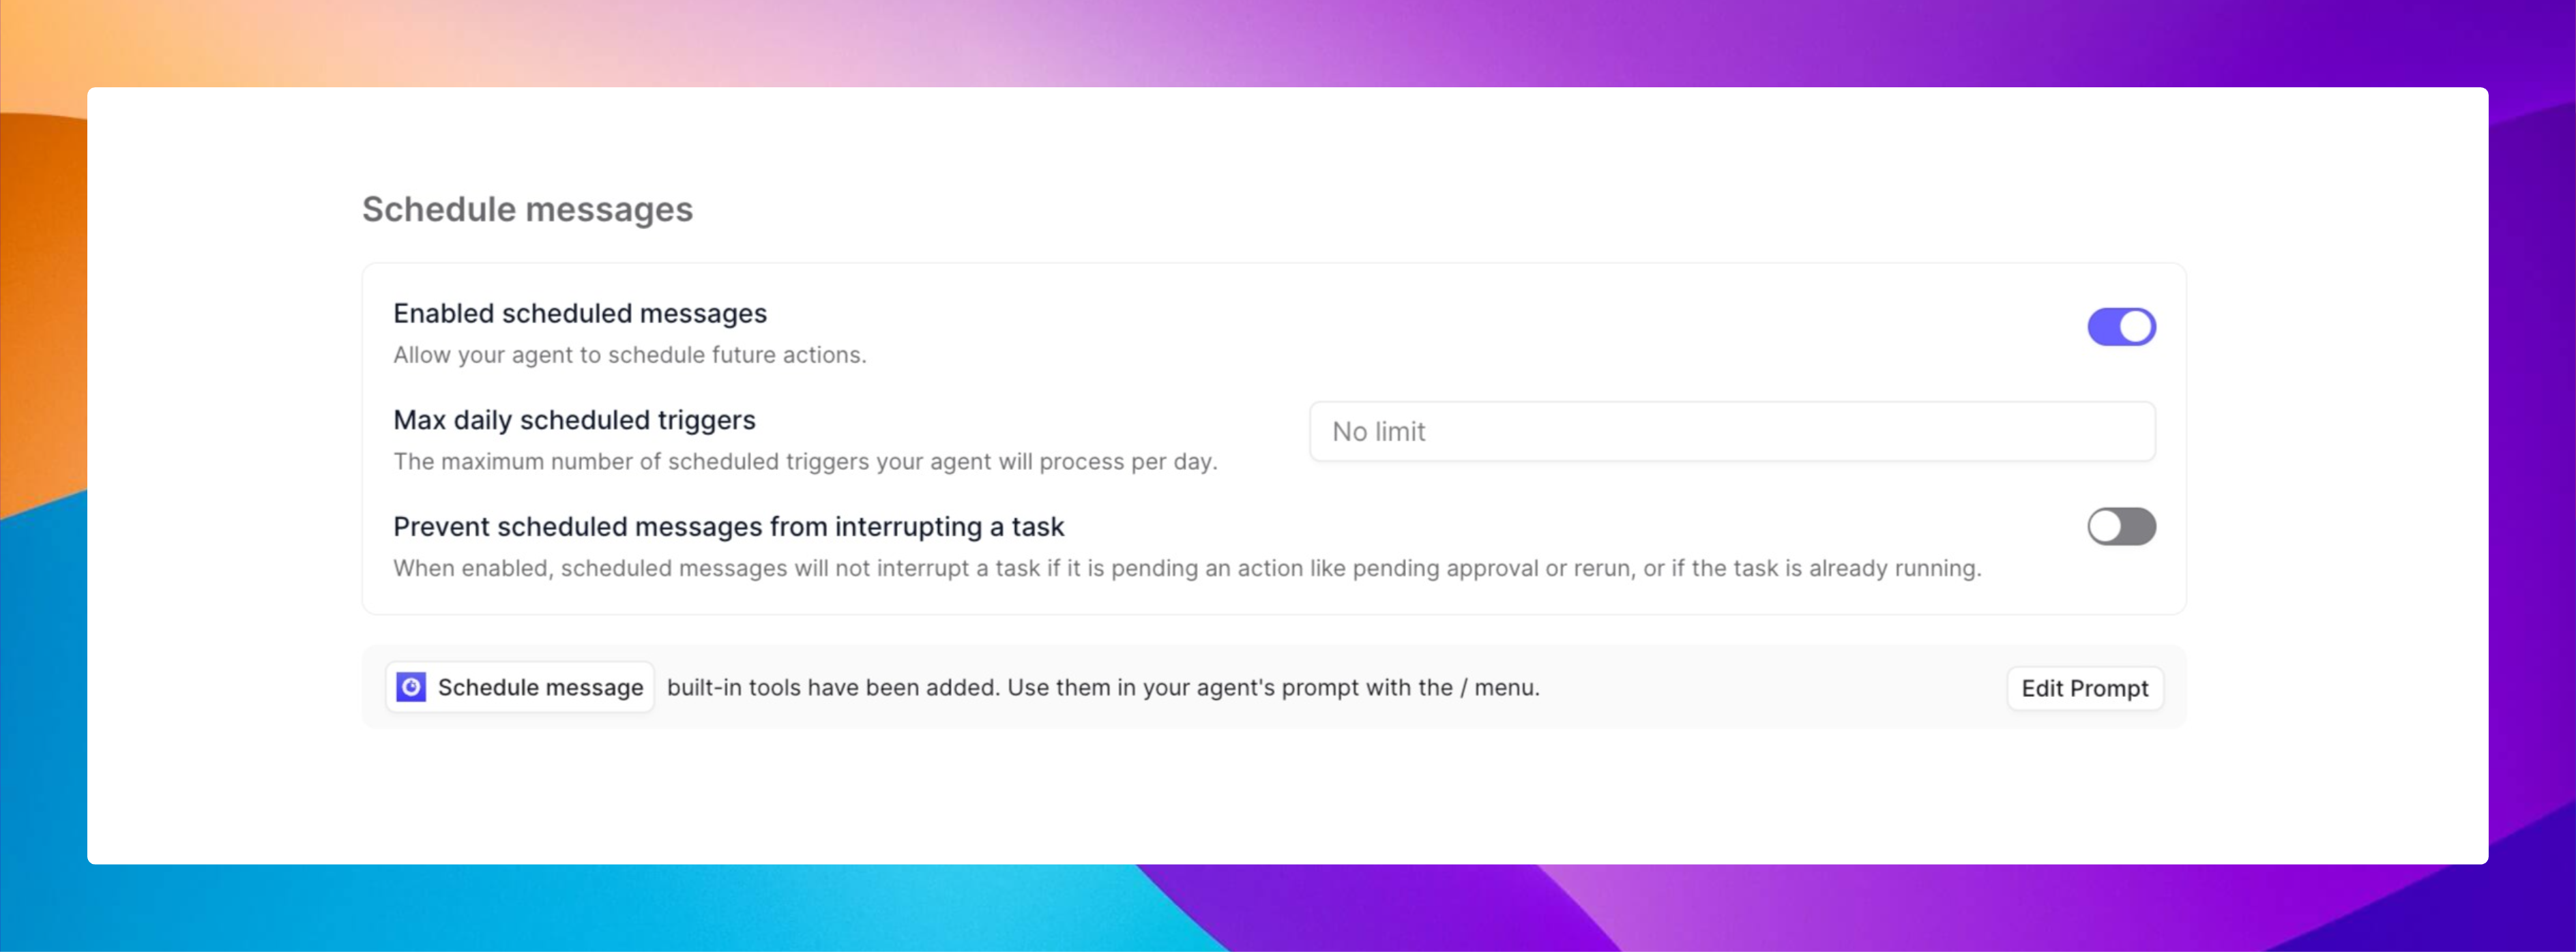
Enabled Scheduled Messages (toggle)
Turn this on to allow your Agent to schedule actions or messages for the future. Without this enabled, your Agent can only respond in real-time and won’t be able to set future reminders, follow-ups, or scheduled notifications.Max daily Scheduled Triggers
Set a limit on how many scheduled actions your Agent can process in a single day. Leaving it at “No limit” means the Agent can schedule and send as many future messages as needed. If you want to control costs, manage system load, or prevent overactivity, you can set a specific maximum number.Prevent Scheduled Messages from interrupting a Task
When this is enabled, your Agent won’t interrupt an active task (like when it’s waiting for approvals or processing another action) just to send a scheduled message. Instead, the scheduled message will wait and be delayed by at least the time you specify (default is 1,440 minutes, or 24 hours). This prevents your Agent from getting confused, stuck, or behaving unpredictably when juggling multiple actions.Schedule Message Tool
A built-in tool your Agent can use when writing prompts. Use the/schedule message shortcut inside your Agent’s instructions to tell it exactly when and what to schedule automatically during conversations.
Example:
“After summarizing today’s emails, schedule a check-in message tomorrow at 10 AM.”
Frequently asked questions (FAQs)
What if my agent encounters an error during a scheduled run?
What if my agent encounters an error during a scheduled run?
The system logs errors and can send notifications based on your settings. You can view error details in your agent’s task history.
Can I temporarily pause a recurring schedule?
Can I temporarily pause a recurring schedule?
Yes, you can disable schedules without deleting them when you need a pause. Simply toggle off the schedule in your agent’s Triggers settings.
How do I change an existing schedule?
How do I change an existing schedule?
Go back to the Recurring Schedule section in your agent’s Triggers settings and update the schedule as needed. Changes take effect immediately.
What timezone are scheduled runs based on?
What timezone are scheduled runs based on?
Scheduled runs use your account’s configured timezone. You can adjust this in your agent’s schedule settings to ensure tasks run at the correct local time.