Add the ‘Find Row’ Tool step to your Tool
- Creating a new Tool, then searching for the ‘Find Row’ Tool step
- Click ‘Expand’ to see the full Tool step
- Using the dropdown menu:
- Select the Google account you would like to use.
- Select the Drive you would like to use (defaults to “My Drive”).
- Select the Spreadsheet you would like to find the row in.
- Select the worksheet you would like to find the row in.
- Enter the letter of the column you want to search in.
- Enter the value you want to find.
The value you enter will be case-sensitive.
- Click ‘Run step’ to test out the Tool
Using in an Agent
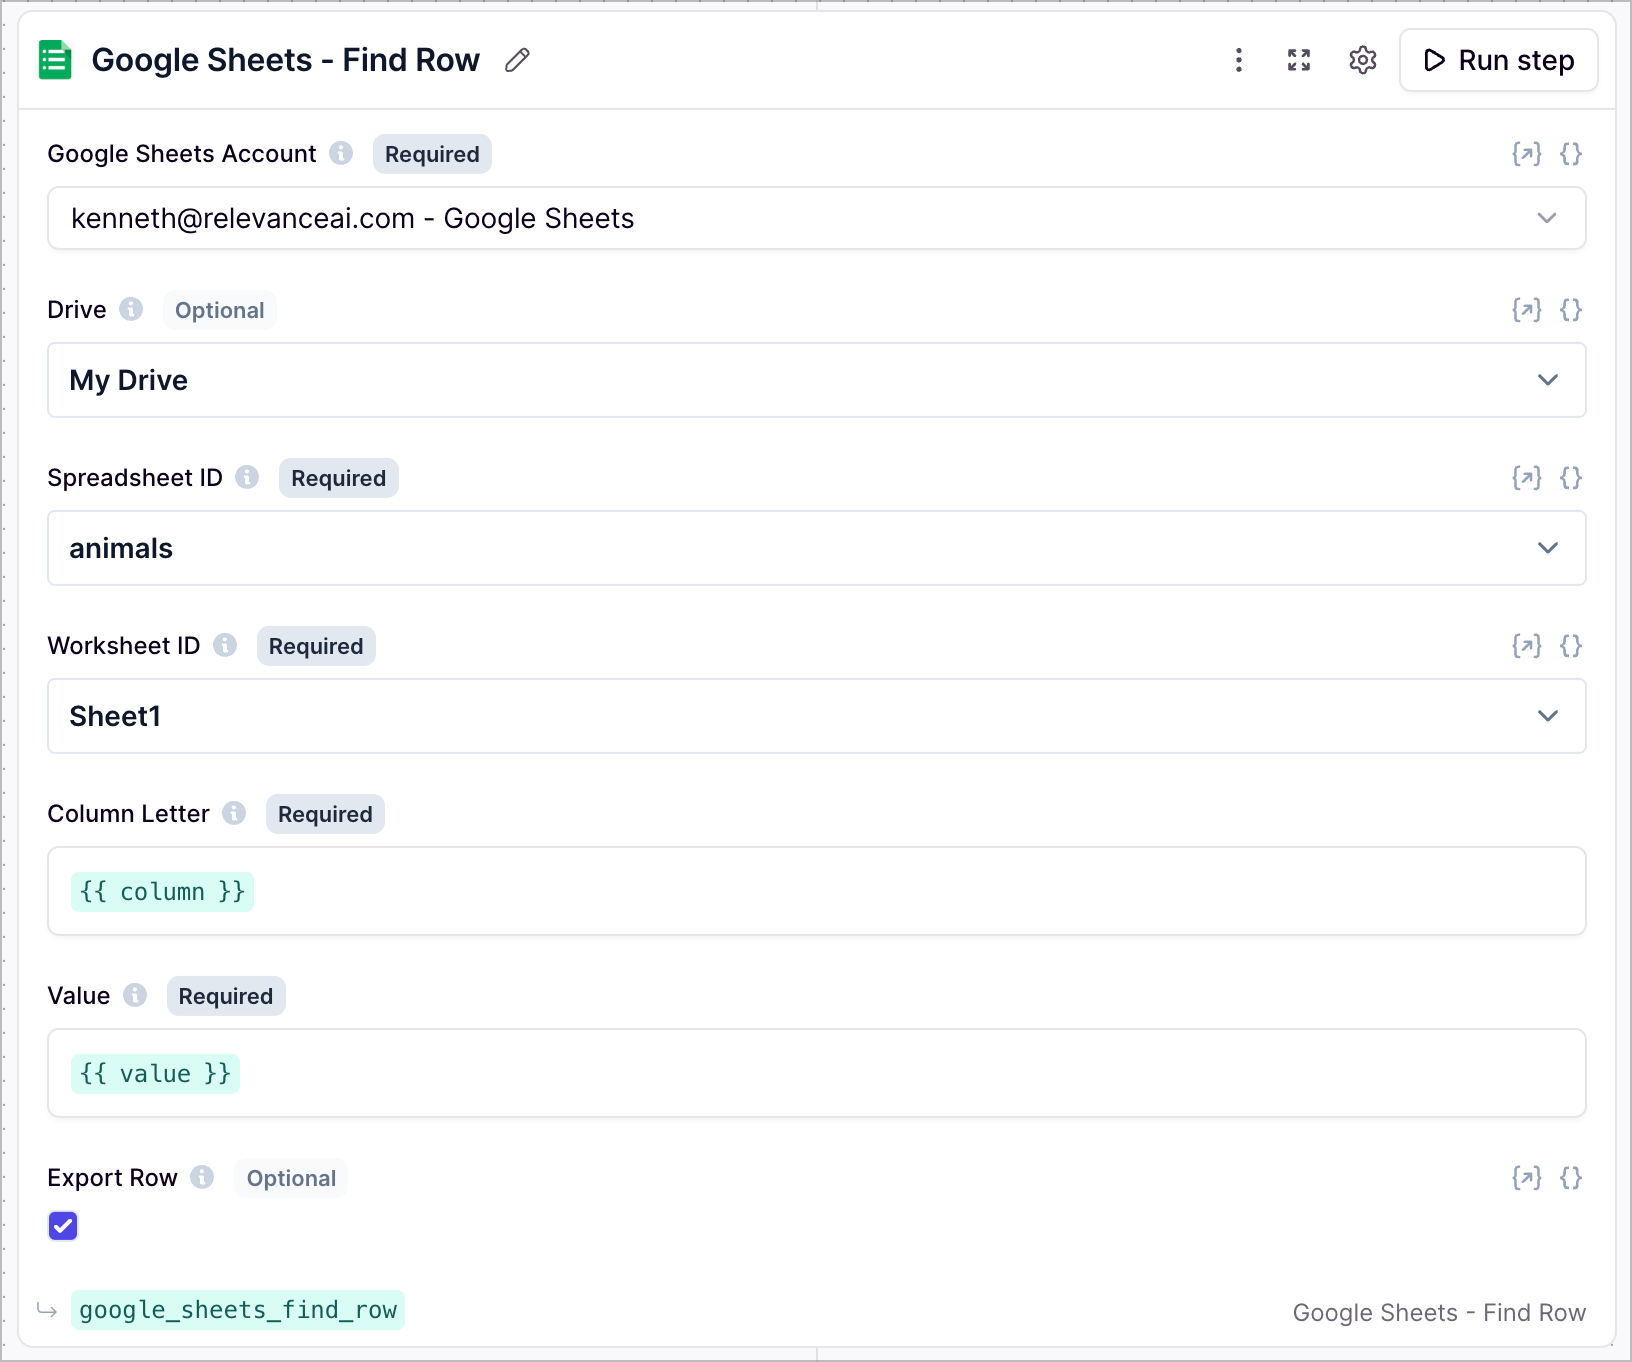
There are 3 ways to configure the tool step when using in an agent- Using input variables
This is the easiest way to configure the tool step. You can select the Drive, Spreadsheet and Worksheet from a list of options via the dropdown menu.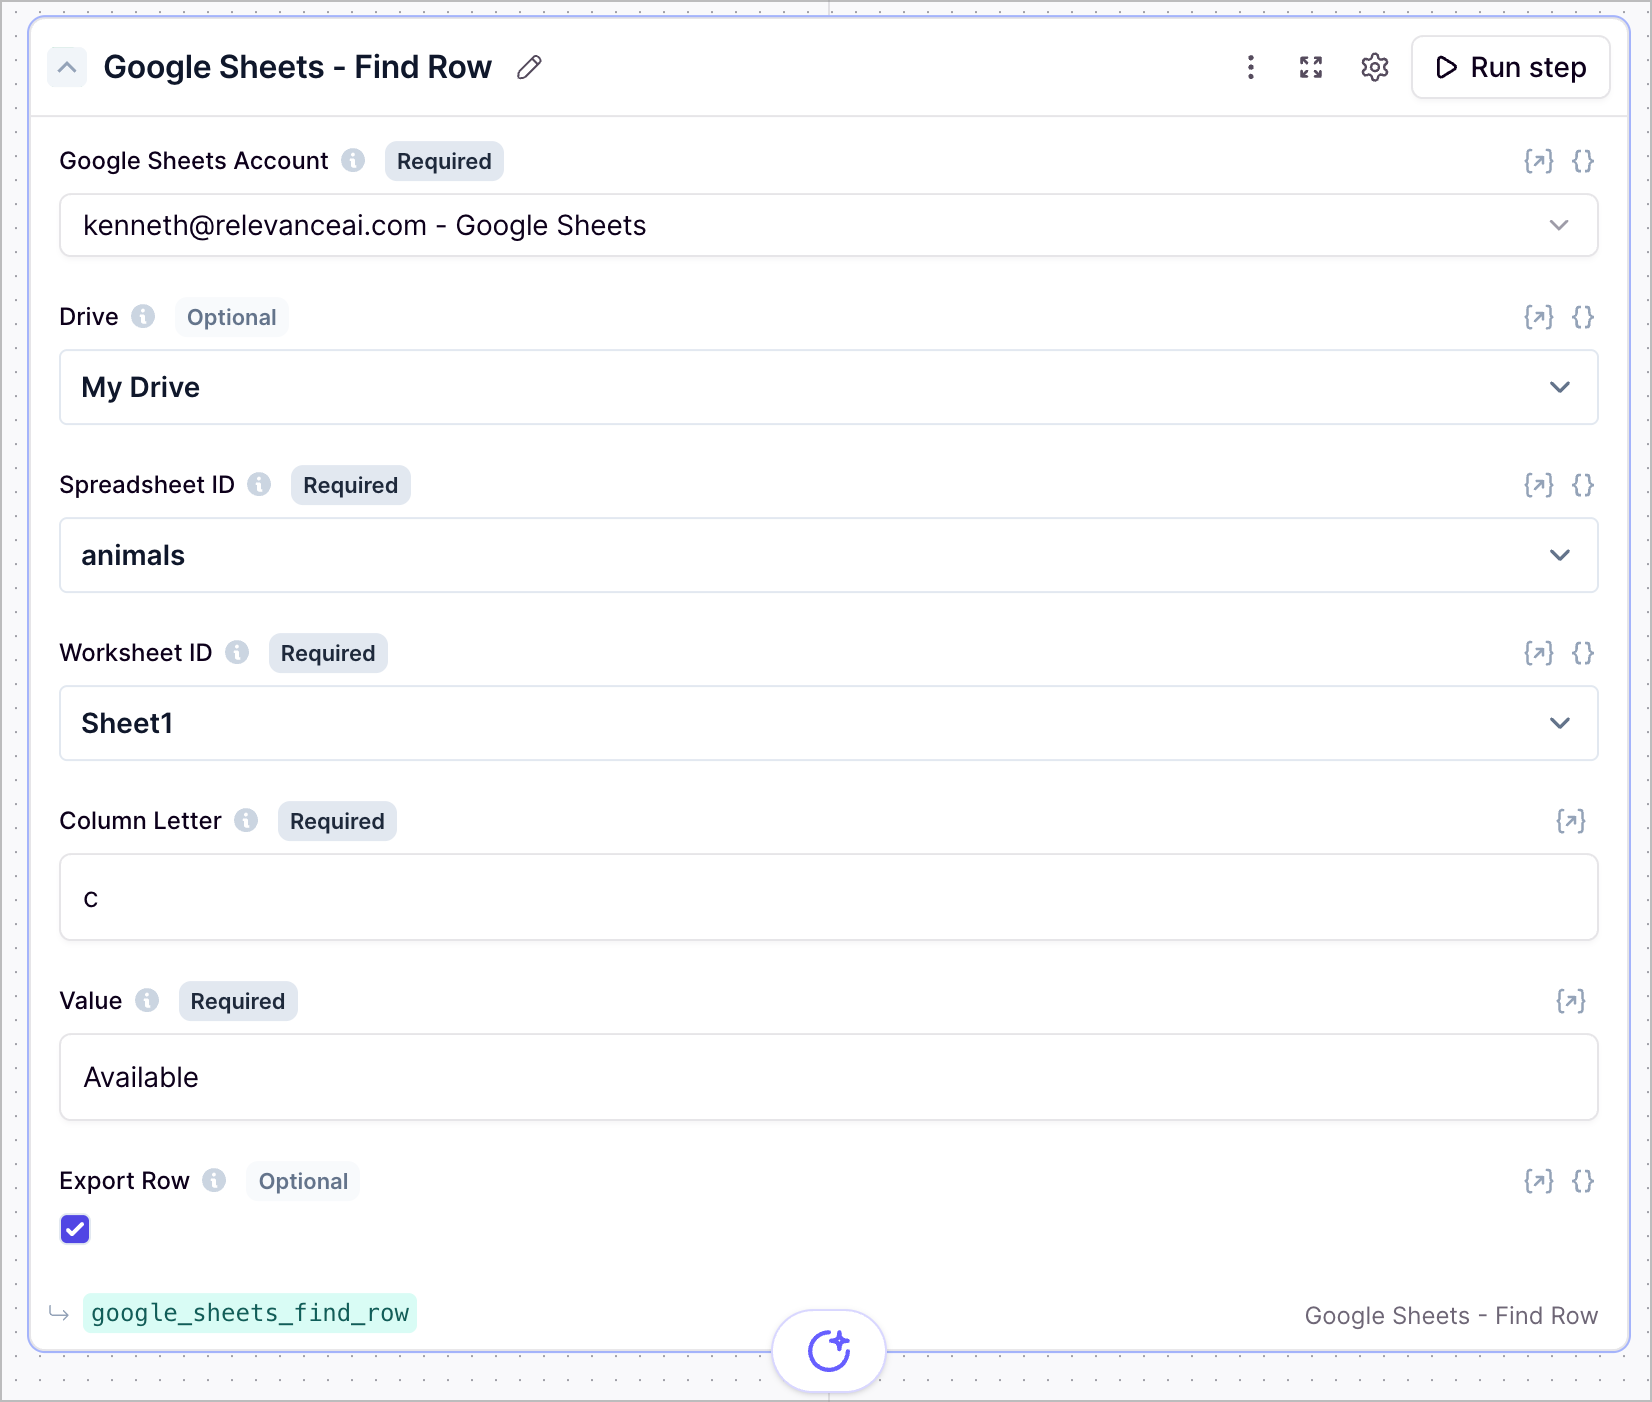

Parameters
The Drive you want to use. By default, the tool uses “My Drive”.
To get the spreadsheet ID, navigate to your Google Sheet and copy the ID from the URL (the long string between
/d/ and /edit).
To get the worksheet ID, open the specific worksheet you want to use and copy the ID from the URL (appears after
#gid=).
The letter of the column of the sheet you are searching in.
The value you want to search for in the column.
When this option is checked, the tool will return the entire row in the results.
Frequently asked questions (FAQs)
What is the difference between using the green input variables and the dropdown menu?
What is the difference between using the green input variables and the dropdown menu?
Can I use a mix of both dropdown menu and green input variables?
Can I use a mix of both dropdown menu and green input variables?