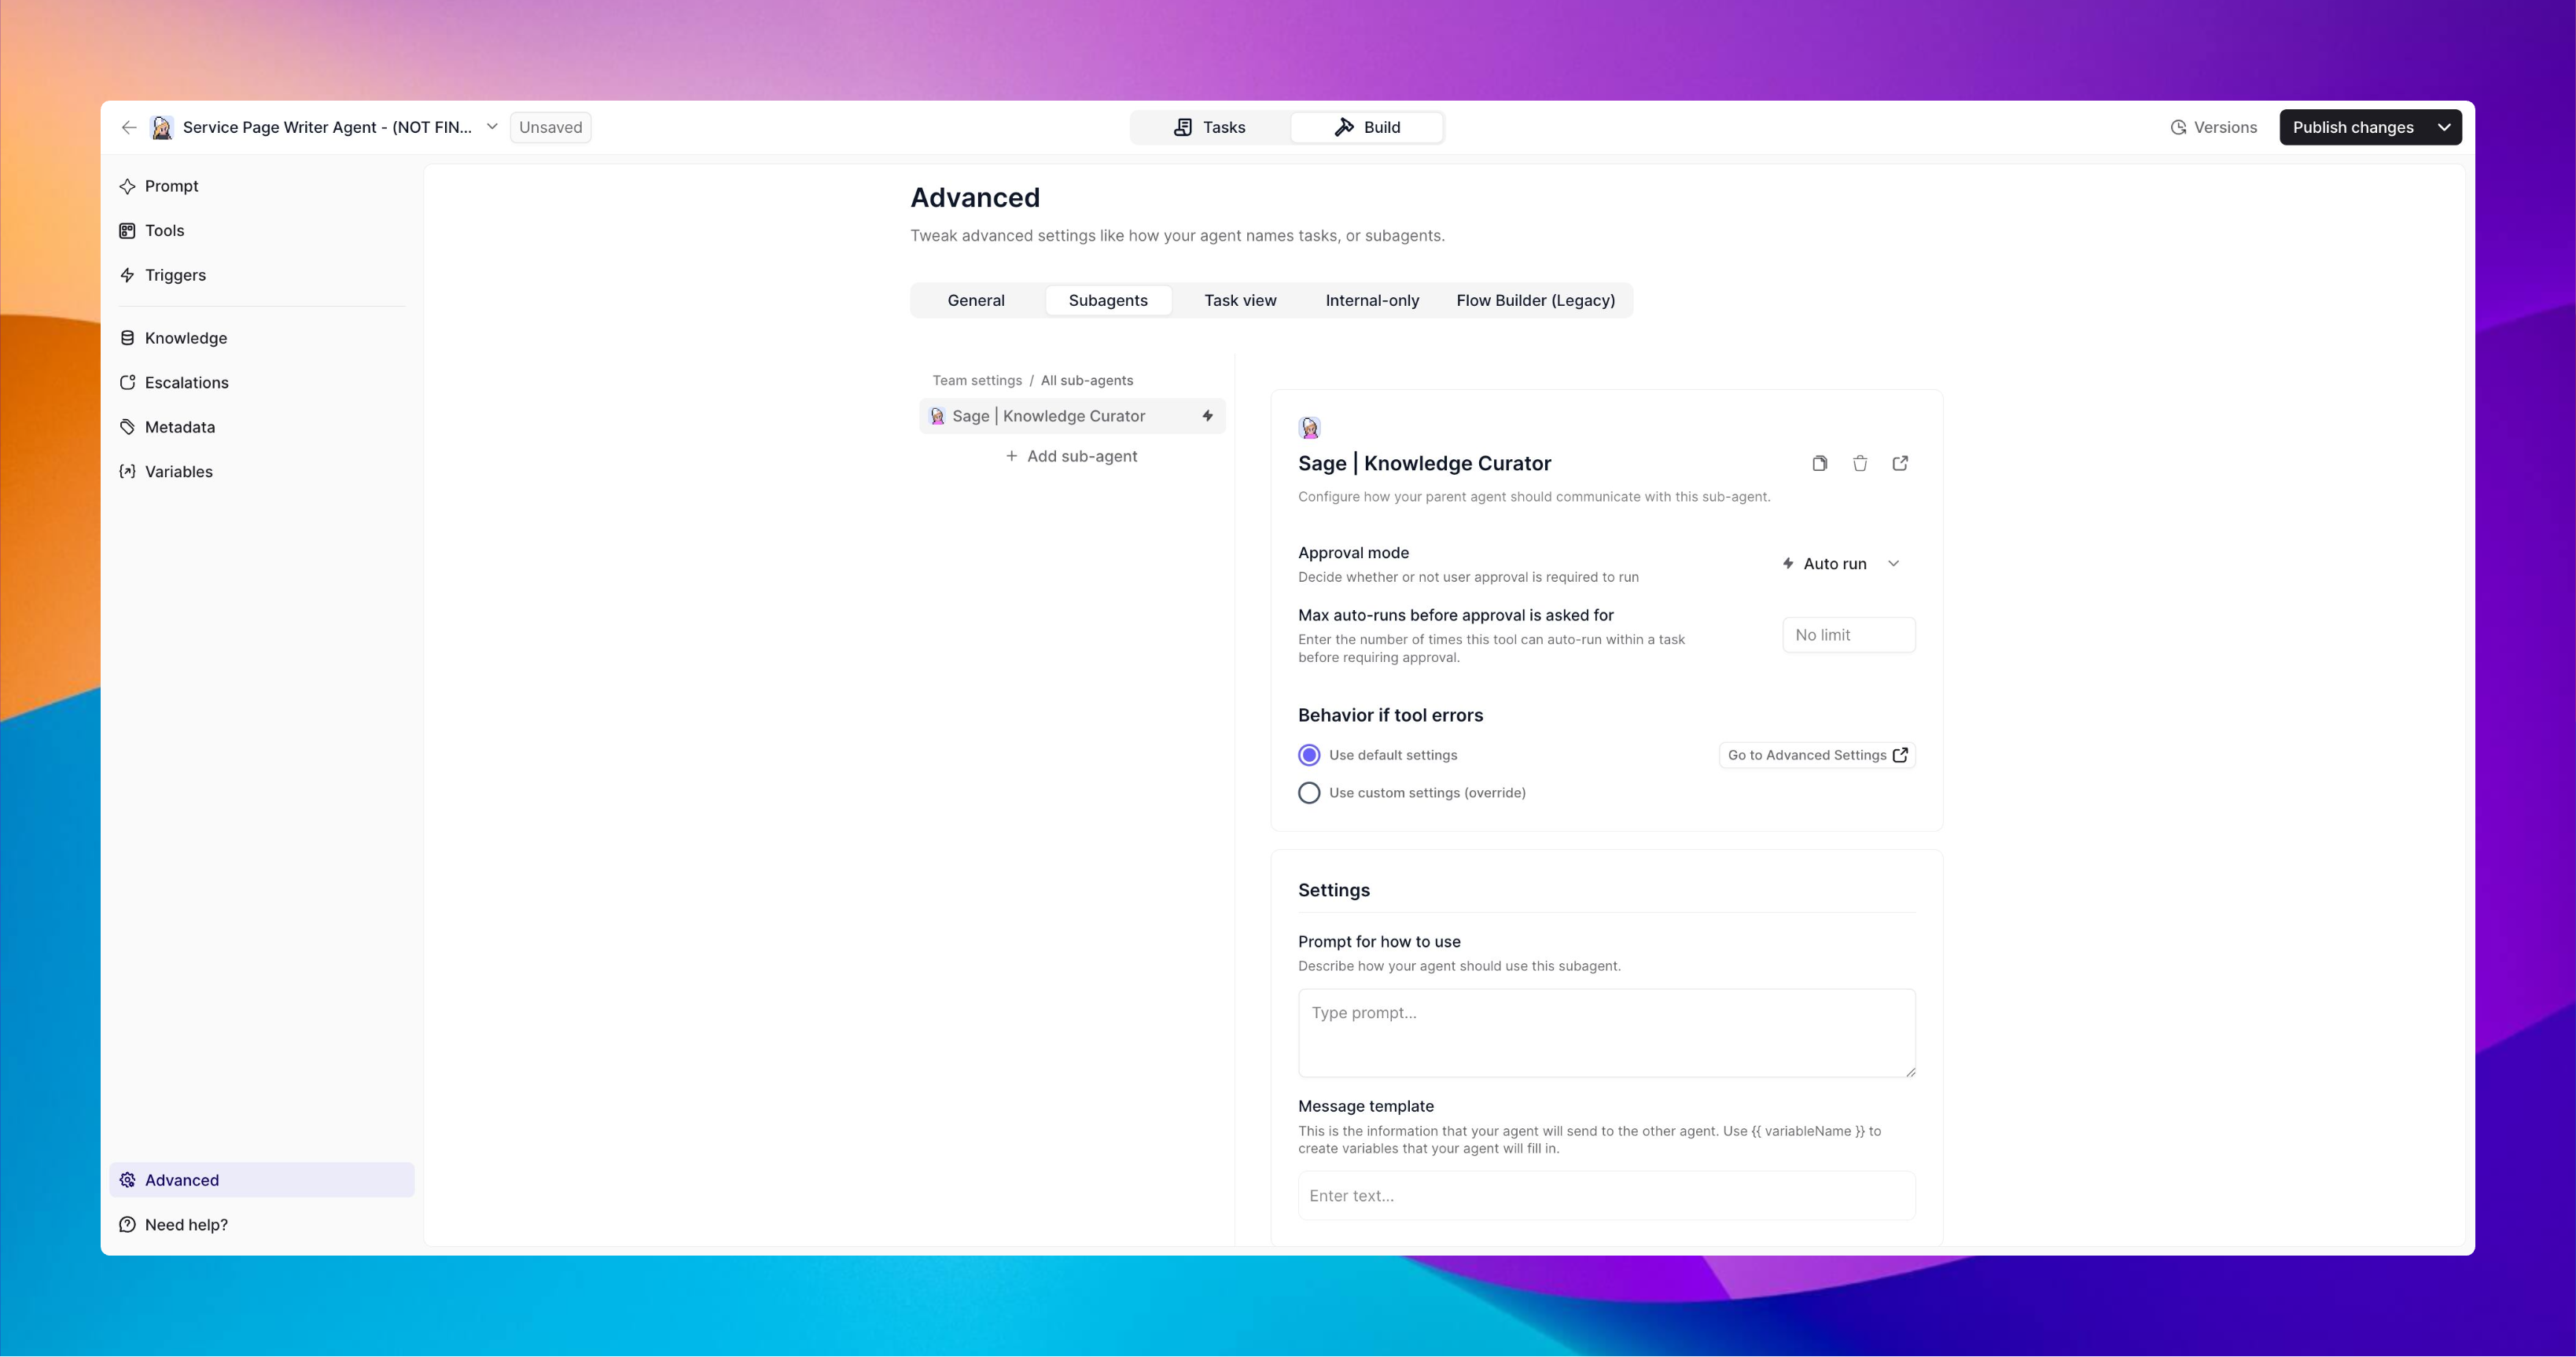
Sub-Agent Settings
Approval Mode
Choose how your parent Agent gets permission to use this Sub-agent:- Auto Run: The Sub-agent runs automatically whenever needed, with no interruptions
- Approval Required: You’ll be asked for permission each time before the Sub-agent runs
- Choose Auto Run for routine, low-risk tasks you’re comfortable automating completely
- Choose Approval Required when you need oversight for sensitive operations or actions with significant impact
Max Auto-runs Before Approval
Set a limit on consecutive automatic runs before requiring your approval:- No limit: The Sub-agent can run as many times as needed without stopping for approval
- Custom number: After reaching this number of runs within one task, the system will pause and ask for your permission
Error Handling Behavior
Decide how errors should be managed when they occur:- Use Default Settings: Follow your workspace’s standard error handling rules
- Use Custom Settings: Create specific error handling instructions just for this Sub-agent
Communication Settings
Usage Instructions
Write clear directions for when and how the parent Agent should use this Sub-agent:Message Template
Create a standardized format for requests sent to the Sub-agent:{{topic}} will be filled in by the parent Agent when making requests. This creates consistency and ensures all necessary context is included with each request.
Task View Settings
View Title
Name your custom dashboard view with a clear, descriptive title:Information to Include
Select which tools or actions you want to track in this view:- Search for specific tools (like “Send Email” or “Generate Report”)
- Only tasks using these selected tools will appear in this view
- This filtering helps you focus on the specific workflows you need to monitor
Why Task Views Matter
Task Views help you organize and monitor complex Agent workflows by:- Separating different types of work into focused dashboards
- Reducing noise from unrelated activities
- Making it easier to track progress on specific processes
- Allowing different team members to monitor the aspects most relevant to them